IonicとReact環境はインストール済みとして解説。
Ionic、React、Capacitorの環境設定がまだの場合、こちらで解説。
Google consoleでプロジェクトの作成
Firebaseを使用し、ログイン認証を作成するため、Google consoleにてプロジェクトを作成する。
https://console.firebase.google.com/
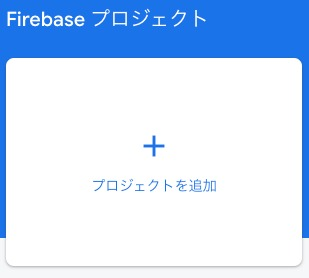
・プロジェクトを追加
プロジェクト追加ボタンで設定を開始。
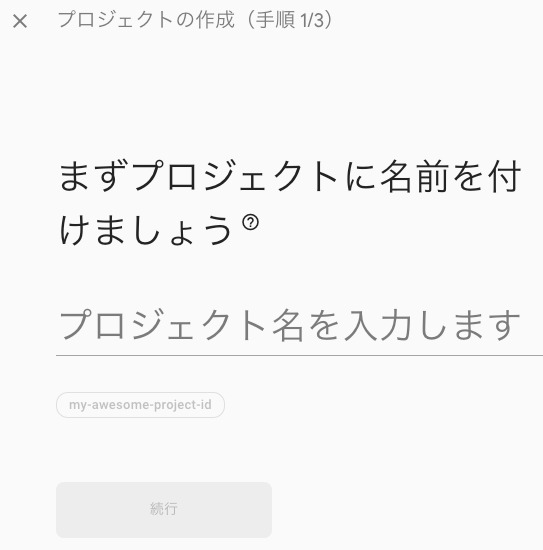
ここではプロジェクト名を「test」とした。
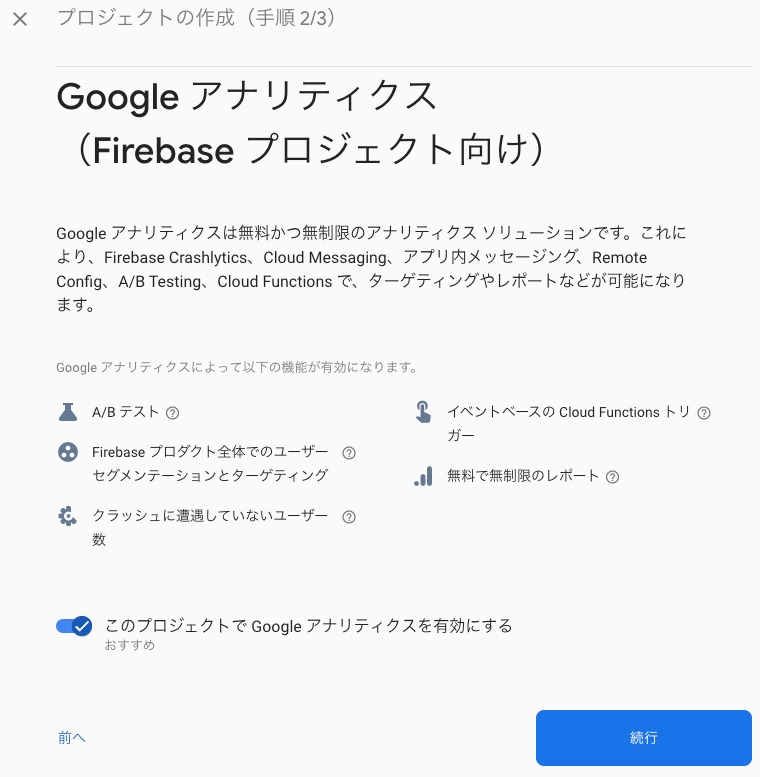
Google アナリティクスが必要な場合、有効とする。
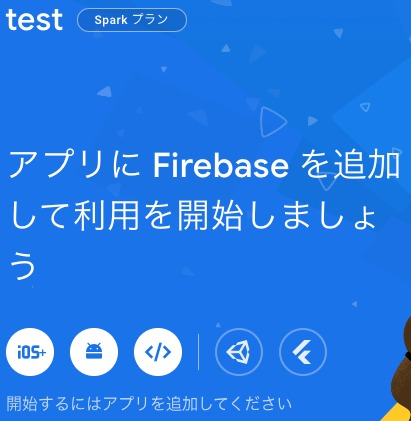
作成したプロジェクト「test」に、iOSとAndroidを追加する。
追加する場合、iOSやAndroidのアイコンをクリックし、追加する。
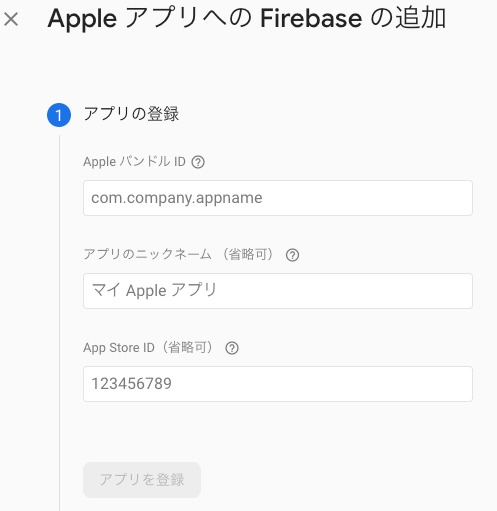
iOSを追加する際、Appleバンドル IDを設定する。
ここではバンドルIDを、「jp.seriu.test」とした。バンドルIDは、3つの3要素から構成されるため、サブドメインを逆にしたイメージで設定する。
GoogleService-info.plistをダウンロードする。
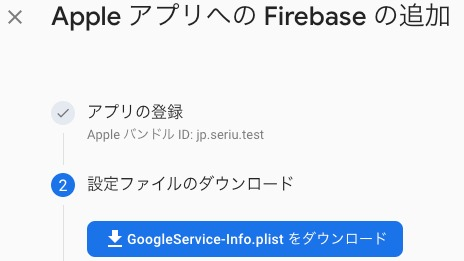
ここでの作業は、以上となる。
プラグインをインストール
プラグインをインストールするため、事前に作成しているアプリへ移動する。
インストールするプラグインは、「@capacitor-firebase/authentication」と「firebase」の2つ。
# インストール
npm i @capacitor-firebase/authentication firebase

# 同期をとる
npx cap sync
GoogleService-info.plistをxcodeでコピー
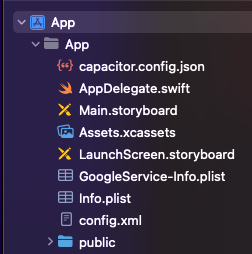
先ほどダウンロードした「GoogleService-info.plist」を、xcodeを開いて「App/App/」にコピーする。
まずはxcodeを開く。
npx cap open ios開いた後、「App/App/」に「GoogleService-info.plist」をドラッグしてコピーする。
xcodeにてカスタムURLを追加する
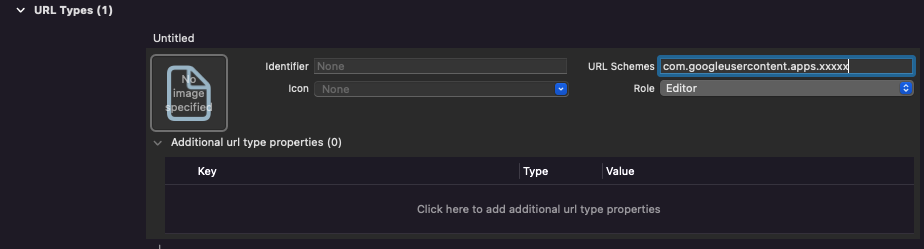
「GoogleService-info.plist」での「REVERSED_CLIENT_ID」をコピーする。
xcodeにて、「App → TAREGETS → App」を選択し、「info」を開く。
「URL Types」を開き、1つ追加する。
「URL Schemes」に先ほどコピーした「REVERSED_CLIENT_ID」を貼り付け、そのほかの項目はデフォルトのままとする。
認証用のクラスを作成する
認証用のクラスを作成する。ファイル名は「authentication.ts」とした。
その後、インストールしたプラグインをインポートする。
import { FirebaseApp, initializeApp, getApp } from "firebase/app";
import { Auth, initializeAuth, indexedDBLocalPersistence } from "firebase/auth";
import { FirebaseAuthentication } from "@capacitor-firebase/authentication";
import { Firestore, getFirestore, } from "firebase/firestore";
ここまでくれば、ログインメソッドを呼び出すだけとなる。
ここでは、「Googleログイン」「匿名ログイン」を行うこととし、メソッドを作成した。
import { FirebaseApp, initializeApp, getApp } from "firebase/app";
import { Auth, initializeAuth, indexedDBLocalPersistence } from "firebase/auth";
import { FirebaseAuthentication } from "@capacitor-firebase/authentication";
import { Firestore, getFirestore, } from "firebase/firestore";

export class AuthService {
    /**
     * Googleログイン
     */
    async signInWithGoogle(): Promise<void> {
        const result = await FirebaseAuthentication.signInWithGoogle();
        // return result.user;
    }

    /**
     * 匿名ログイン
     */
    async signInAnonymously(): Promise<void> {
        const result = await FirebaseAuthentication.signInAnonymously();
        // return result.user;
    }
}
Viewを作成する
Googleログイン用と、匿名ログイン用のボタンをメソッドを追加する。
import { IonContent, IonButtons } from '@ionic/react';
import { AuthService } from './authentication';

const TestPage = () => {
  const auth = new AuthService();

  return (
    <IonContent fullscreen>
      <IonButtons slot="start" onClick={() => auth.signInWithGoogle()}>
        Googleログイン
      </IonButtons>

      <IonButtons slot="start" onClick={() => auth.signInAnonymously()}>
        匿名ログイン
      </IonButtons>
    </IonContent>
  );
};

export default TestPage;
ログイン・ログアウトの切り替え
Googleログインを行った際のパターン。
ログイン後、「true / false」を受け取り、ログインした場合、ログイン後の画面へ遷移する。その際、ローカルストレージに値「1」を保存し、1の場合はログイン後とする。変数名は「fLogin」とした。
ログアウトを行った場合、ログアウト画面に遷移する。その際、、ローカルストレージに値「-1」を保存し、-1の場合はログアウト後とする。
最後に、ログイン画面かログアウト画面かを判断するため、「fLogin」の値が「1」であればログイン後の画面、それ以外はログアウト後の画面へと遷移する。
/**
 * Googleログイン
 */
function clickGoogle() {
  (async ()=>{
    const f = await auth.signInWithGoogle();
    if ({f}) {
      localStorage.setItem('fLogin', '1');
      history.replace({
        pathname: "/MyPage",
        state: { sourcePage: 'MyPage' }
      });
    }
  })();
}

/**
 * ログアウト
 */
function clickLogout() {
  auth.signOut();
  localStorage.setItem('fLogin', '-1');
  history.replace({
    pathname: "/Login",
    state: { sourcePage: 'Login' }
  });

  return;
}

/**
 * ログイン画面かログアウト画面かを切り替える
 */
if (localStorage.getItem('fLogin') == '1') return (<Redirect to="/MyPage" />);
else return (<Redirect to="/Login" />);